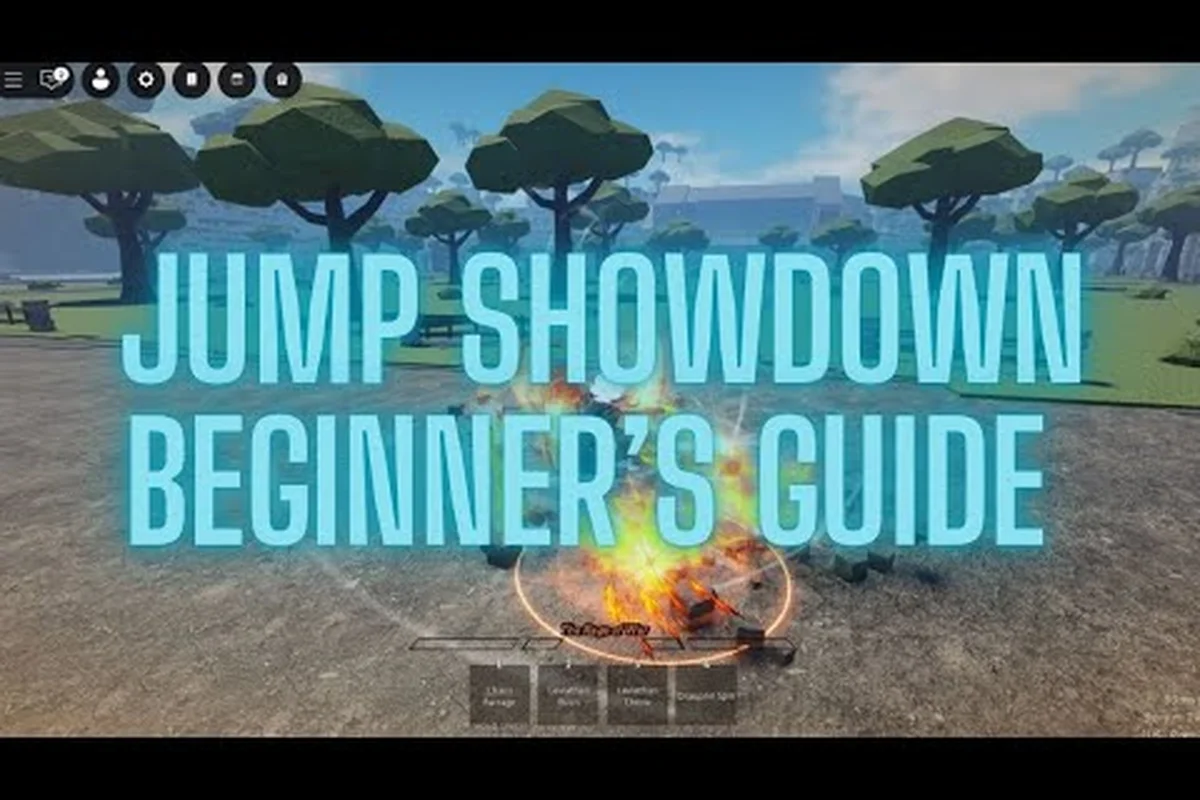
Surviving your first 16-player free-for-all in Jump Showdown comes down to mastering a handful of frame-tight mechanics before you ever queue into a crowded lobby. This jump showdown beginner guide breaks down the default keybinds, M1 combo sequences, F-parry windows, and Q dash canceling rhythm so you can trade hits intelligently instead of panic-mashing. By the end, you will understand the bread-and-butter combat loop, the ragdoll cancel system, and the defensive habits that separate first-round eliminations from players who consistently reach the final four.
Jump Showdown is an anime-styled arena fighter on Roblox developed by Jimpee's Cabin, and its combat revolves around fast melee strings, parry-based defense, and a 16-player free-for-all format that punishes hesitation. The core feel is closer to a tight fighting game than a button-masher: every light attack chain has cancel points, every parry has a punish window, and every wall splat can end a stock. The jump showdown how to play fundamentals below come straight from the Jump Showdown official Roblox page and community testing shared on the Jump Showdown Discord.
Jump Showdown Default Controls and Keybind Layout
The default keyboard layout is the single most important thing to memorize before queuing into a real match. Every mechanic in Jump Showdown is bound to a specific key, and muscle memory for those keys is what lets you react inside the 1.5-second parry stun window instead of staring at the screen while you get comboed. The layout below is what ships with the game, and you can rebind any of these through the settings menu if a default clashes with your existing Roblox bindings.
| Action | Default Key | When To Use It |
|---|---|---|
| Light Attack (M1) | LMB / Mouse 1 | Neutral pressure, combo starter, bread-and-butter string |
| Heavy Attack | Mouse 2 / M2 | High-damage launcher, slower recovery |
| Block / Parry | F | Defend against incoming M1, punish on successful parry |
| Dash | Q | Repositioning, closing gaps, canceling recovery |
| Jump | Space | Aerial mixups, escaping ground pressure, jumping over low attacks |
| Awakening | G | Trigger awakened state with enhanced moves and Ultimate |
| Skill 1-4 | 1, 2, 3, 4 | Character-specific abilities, mapped to your loadout |
| Character Select | Menu | Pre-match loadout and cosmetic selection |
The most important key for a brand-new player is F (Block / Parry). A successful parry inflicts a 1.5-second stun on the attacker, and that single stun is the only opening you need to land a full M1x3 string plus a dash cancel extension. Beginners who never bind F to something comfortable will get opened up the moment they face anyone with a working three-hit sequence.
The second most important key is Q (Dash). Q does double duty: it repositions you across the arena, and it cancels the recovery frames of certain attacks. Mashing Q at the wrong time will get you punished, but pressing Q on the third hit of an M1 string resets your recovery and lets you extend the combo into a fourth strike or a side dash into a wall carry.
Recommended Sensitivity and Camera Settings
Jump Showdown's camera sits in a third-person over-the-shoulder position, and your horizontal mouse sensitivity directly controls how fast you can track side-stepping opponents. Community testing shared by content creator VendoPlus suggests running your sensitivity high enough to track a side-stepping target in under half a second, but low enough that you can still aim your M1 chains without over-correcting. If you cannot consistently track a strafing opponent during the 1.5-second parry stun, your sensitivity is too low.
Jump Showdown Combat Basics: M1 Strings, Parries, and Punishment
The entire Jump Showdown combat system is built around a single four-hit M1 sequence. Every character in the game can press LMB four times in a row, and each press in the chain has different recovery frames, different cancel points, and different punish follow-ups. Learning the chain is the jump showdown combat basics foundation that everything else builds on top of.
| M1 Hit | Startup | Recovery | Cancel Available? | Best Follow-Up |
|---|---|---|---|---|
| M1 #1 | Fast | Short | No | Block reset, second M1 |
| M1 #2 | Fast | Short | No | Third M1, dash out on read |
| M1 #3 | Medium | Medium | Yes (Q dash cancel) | Side dash, fourth M1, special |
| M1 #4 | Slow | Long | Limited | Launcher into aerial, heavy |
The third hit is the linchpin of the entire system. M1 #3 finishes with a recovery window long enough for the defender to start a parry attempt, which is why most players mash Q on hit #3 to cancel the recovery and either side-step into a wall carry or reset the chain. A well-timed Q dash cancel on hit #3 turns a punishable string into an unpunishable mixup, and that single technique is the reason experienced players look untouchable while beginners get counter-hit every exchange.
The F Parry Window Explained
F-parry is a frame-tight defensive option that beats any incoming M1 string if timed correctly. The window is roughly six frames at the start of the parry animation, and the cooldown after a missed parry is long enough that you can get hit by the full M1x4 chain before your F is available again. According to the Jump Showdown Discord competitive guide, a successful parry stuns the attacker for 1.5 seconds, which is enough time to land three confirmed M1 hits and a dash cancel extension.
The biggest mistake new players make is mashing F whenever they see an attack animation. Parry is a read, not a reaction — if you spam it, you will eat the M1x3 to M1x4 string and lose 60% of your health in one combo. The correct usage is to hold block (or stay neutral) until you see the third hit wind-up, then press F to parry the expected M1 #4. That is the jump showdown how to play timing window that community data points to as the single biggest skill gap between new and intermediate players.
Jump Showdown Dash Canceling: The Q Reset Mechanic
Jump showdown dash canceling is the recovery-reset technique that lets you turn a punishable string into a continuous combo. The basic idea is simple: on the third hit of your M1 chain, press Q during the recovery frames to cancel the animation and either side-step, back-step, or chain into a fourth hit. The execution is harder than it sounds because Q has to land inside a narrow frame window — too early and the dash animation overrides your hit, too late and the recovery finishes normally, leaving you open to a parry counter.
| Dash Cancel Timing | Result | Punishable? |
|---|---|---|
| Too early (before M1 #3 lands) | Dash overrides the hit | Yes, you whiffed |
| Perfect (M1 #3 recovery frames) | Chain extends into M1 #4 or side-step | No, mixup continues |
| Too late (after recovery ends) | Normal recovery plays out | Yes, opponent can parry M1 #4 |
The most common bread-and-butter sequence is M1x3 into Q dash cancel into M1x4 into side dash into wall carry. That is the combo most community guides label as the foundational string, and practicing it on a training dummy until you can land it ten times in a row is the standard recommendation before queuing into a public match. If you want a deeper dive into the side-dash and ragdoll-punish extensions, the Q dash combo routes guide walks through the full wall-splat and downslam follow-ups that turn the basic string into a 60% damage route.
Common Dash Cancel Mistakes
The single most common mistake is canceling on hit #1 or #2 instead of #3. The first two hits have such short recovery that a Q cancel will actually extend your vulnerability by interrupting the natural chain flow, so beginners who spam Q on every hit often lose trades that a patient player would have won. The second most common mistake is canceling straight backward instead of side-stepping — a backward dash is fully reactable and lets the opponent track you into a wall splat. Always cancel at a 45-degree angle to either side, because the side-step is what opens up the wall carry and the unblockable guard break mixup.
Jump Showdown Ragdoll Cancel and Recovery System
The ragdoll system is what happens when you take a heavy hit or get launched by an opponent's combo ender. When your character ragdolls, you lose control for roughly one to two seconds and fly across the arena in an arc. Jump showdown ragdoll cancel is the emergency escape tool that lets you skip most of that ragdoll time and recover near where you were hit.
| Ragdoll State | Duration | Cancel Available? | Cooldown |
|---|---|---|---|
| Light ragdoll (single heavy) | ~1.0 sec | Yes | 15-20 sec |
| Heavy ragdoll (launcher) | ~1.8 sec | Yes | 15-20 sec |
| Wall splat ragdoll | ~2.0 sec | Yes | 15-20 sec |
The ragdoll cancel has a 15 to 20-second cooldown according to community testing reported on the Jump Showdown Discord, which means you only get one escape every few exchanges. The critical mistake new players make is burning the ragdoll cancel the first time they get hit, then getting caught again ten seconds later with no escape available. The standard play is to use your first ragdoll cancel only when you are about to be comboed off a wall splat — never on the first light hit you take, because a single M1x4 is recoverable without burning the cooldown.
If you want to expand your defensive toolkit beyond the ragdoll cancel, the defense guide on cooldown management covers the full reset timing window, the animation cancel interactions, and the combo breaker conditions that determine when you can and cannot escape a string.
When To Save vs. Spend Your Ragdoll Cancel
Save the cancel for wall splat scenarios, where the opponent is about to land a 60% damage downslam reset loop, and spend it immediately on those because the alternative is losing the round. Do not spend it on minor hits where you can simply block and reset neutral, and never spend it as an "oh no" panic button because the 15-20 second cooldown means you will be vulnerable for the rest of the engagement. The best ragdoll cancel users only press the button when the alternative is a confirmed loss of the round, which is a habit that takes most players a few weeks of public matches to develop.
First Match Survival Strategy and Practical Tips
Your first 20 matches in Jump Showdown should focus on one thing: surviving to the final four without trying to win every exchange. The 16-player free-for-all format means the field thins itself out aggressively, and players who chase kills in the first minute often get third-partied by two other players and eliminated before the halfway point. The correct opening strategy is to land one confirmed M1x3 string, side dash away to reset, and let other players fight each other while you maintain spacing.
| Phase | Player Count | Recommended Strategy |
|---|---|---|
| Opening | 16-12 | Stay on perimeter, pick one confirmed hit, disengage |
| Mid-game | 11-6 | Start applying pressure, look for parry reads on aggressive players |
| End-game | 5-1 | Full aggression, use Awakening (G) when meter is full |
| Final 1v1 | 2 | Save ragdoll cancel for wall splat, bait parries with delayed M1 #4 |
The Awakening state (G key) is a major power spike that most beginners never use because they forget the meter is filling during every match. Awakening enhances your M1 chain, unlocks your character Ultimate, and gives you the damage output to close out rounds quickly. The general rule is to save Awakening for the final 1v1 or the end-game phase when player count drops below five, because using it in the opening phase wastes the meter on low-percentage trades.
For a deeper breakdown of Awakening timing and the Ultimate meter economy, the evasion and Awakening guide covers the full meter-building priority, the Awakening window, and the movement techniques that pair best with the awakened state.
Common Beginner Mistakes To Avoid
The most expensive beginner mistake is over-committing on M1 #4. The fourth hit has long recovery, and even if you land it, the opponent can still parry your follow-up if you press another M1 too quickly. A patient player who lands M1 #4 and then resets to neutral will win more rounds than an aggressive player who lands M1 #4 and then mashes a fifth attack into a parry. The second most expensive mistake is ignoring the camera — if you cannot see the opponent's character model, you cannot time your F parry, which means you take every M1x3 to M1x4 string at full damage. The third is queuing into a 16-player lobby before practicing M1x3 into Q dash cancel on a training dummy, which is the same mistake as showing up to a fighting game tournament without learning your character's basic combo.
If you want to explore the broader progression and cosmetic side of Jump Showdown once you have the combat basics down, the gamepass benefits overview walks through the character gamepasses, the exclusive moveset pass, and the perks list that experienced players tend to stack.
Frequently Asked Questions
What key should I bind first as a beginner in Jump Showdown?
F (parry) and Q (dash) are the two most important keys to bind first. F is your only defensive option against an incoming M1 string, and a successful parry stuns the attacker for 1.5 seconds, which is enough time to land a full M1x3 counter combo. Q is your recovery cancel and repositioning tool, and binding both to comfortable keys before your first real match will dramatically reduce how often you get opened up by basic strings.
How do I practice the M1x3 into Q dash cancel combo?
Use the in-game training dummy or queue into a private server with one other player. The combo is LMB three times, then Q during the recovery of the third hit, then either a fourth LMB or a side-step into a wall carry. Land it ten times in a row before you queue into a public 16-player lobby, because the execution has to be automatic once you face a moving opponent with parry available.
When should I use my ragdoll cancel in Jump Showdown?
Only use the ragdoll cancel when you are about to be comboed off a wall splat or a launcher, because the 15-20 second cooldown means you only get one escape every few exchanges. Do not use it on the first light hit you take, because a single M1x4 is recoverable through normal block reset. Save it for the moment the alternative is a confirmed 60% damage downslam loop, and never burn it as a panic button in the opening phase of a round.
What is Awakening and when should I use it?
Awakening (G key) is an enhanced state that boosts your M1 chain damage, unlocks your character Ultimate, and gives you the damage output to close rounds fast. The Awakening meter fills passively during every match, and the standard recommendation is to save it for the end-game phase when player count drops below five, or for the final 1v1 where the enhanced damage lets you close out the round before your opponent's parry cooldown recovers.
How is Jump Showdown different from other Roblox arena fighters?
Jump Showdown focuses on frame-tight M1 chains, F parries with a 1.5-second punish window, and Q dash canceling on the third hit, which makes the combat feel closer to a traditional fighting game than a typical Roblox spam-fighter. The 16-player free-for-all format also punishes over-aggression more than most arena games, because third-parties are constant and the field thins out quickly. Ragdoll cancel and wall splat resets round out a system that rewards spacing and patience over button mashing.