
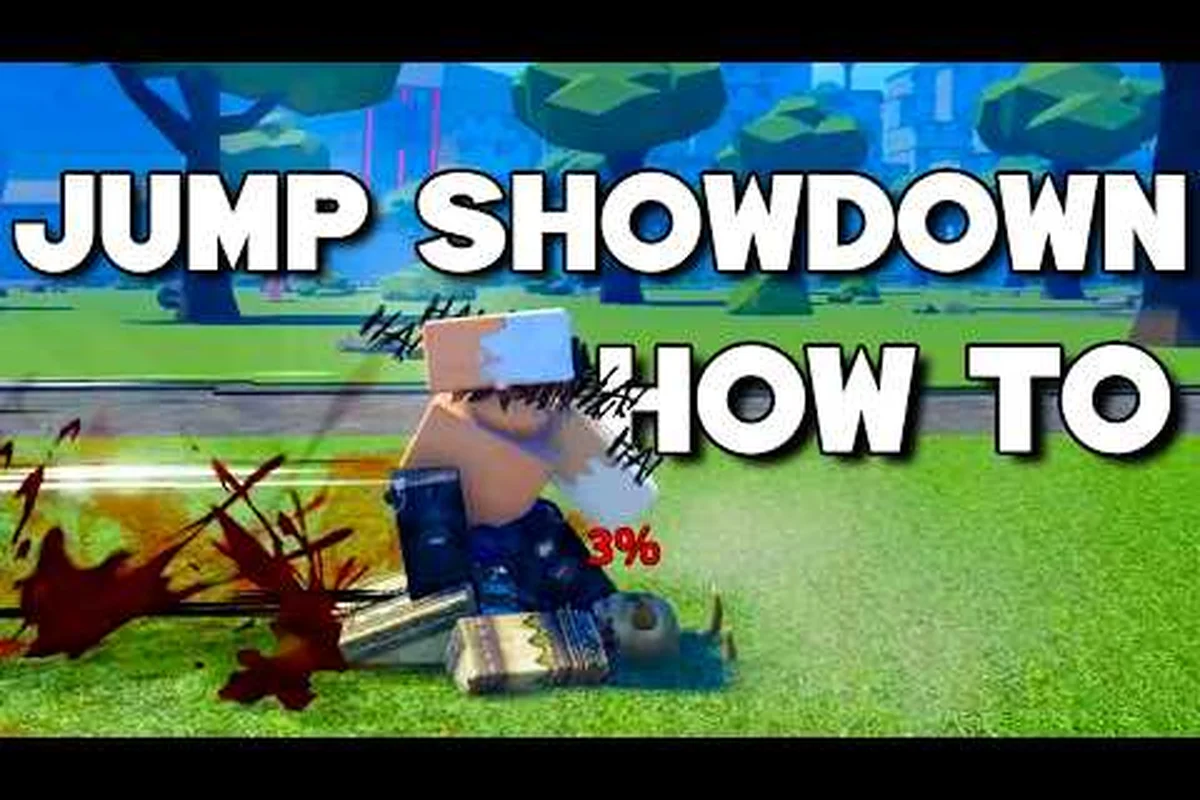
Understanding the Stamina, Burst, and Hitbox Triangle in Jump Showdown
In Jump Showdown, every melee string you throw drains a hidden resource: your stamina bar. When that bar bottoms out, your character stops swinging, your dash cancels go on cooldown, and your opponent gets a free 1.5-second stun window to punish you. According to the official Jump Showdown page on Roblox, the combat system revolves around 4-hit M1 sequences, frame-tight F parries, Q dash cancels, and ragdoll recovery. None of those mechanics work the same once your stamina gauge empties, so reading the bar is the single highest-leverage skill in the game. This stamina guide explains exactly how stamina, burst windows, hitbox overlap, and FPS stability interact, because a 144 Hz player who misreads stamina loses to a 60 Hz player who times bursts perfectly.
Most new fighters focus on combos and ignore stamina, which is why they panic-roll out of M1x3 and feed wall splats. Once you learn to budget the bar the way you budget ultimates, every other system — parry timing, evasion, awakening meter — slots into place.
Jump Showdown Stamina Bar: Regen Rates, Costs, and Thresholds
The stamina gauge behaves like a 100-unit pool that refills passively whenever you are not swinging. According to community testing shared on the Jump Showdown Discord, a single M1 click costs about 8–10 units, while the fourth M1 of a bread-and-butter string costs slightly more because of its launcher property. Dash cancel on Q refills a small chunk instantly, which is the entire reason M1x3 into side dash cancel is a foundational lab drill.
Per-Attack Stamina Costs
| Action | Approx. Stamina Cost | Stamina Refund on Hit | Notes |
|---|---|---|---|
| M1 (single jab) | 8 units | +4 on hit | Safe poke at any stamina level |
| M1x3 string | ~28 units total | +12 on hit | Dash cancel on third hit refunds ~6 |
| M1x4 launcher | ~42 units total | +18 on hit | Launcher costs the most stamina |
| Dash cancel (Q) | 0 units | +6 buffer | Free recovery but locks dash briefly |
| Parry (F) | 4 units | +0 | Cheap defensive option |
| Awakening (G) | 0 units | 0 | Uses ultimate meter, not stamina |
| Special skill 1–4 | 0 units | 0 | Skills run on their own cooldowns |
Stamina Tiers and What They Unlock
| Stamina % | Label | Combat Behavior | Recommended Action |
|---|---|---|---|
| 100–70% | Fresh | Full M1x4, dash cancel chains, parry + punish | Press advantage, fish for walls |
| 70–40% | Committed | M1x3 only, no launcher follow-up | Bait parry, use mobility |
| 40–15% | Danger Zone | M1x2 max, dash cancel locked out for ~1.2 s | Back off, regen, reset neutral |
| 15–0% | Empty | Cannot attack, opponent gets 1.5 s punish | Roll out, ragdoll cancel, survive |
The 40% threshold is where most players feed kills. Once you drop below 40%, you cannot finish an M1x3 into a true combo, so your opponent is now incentivized to swing first. Reading the bar before committing to the third M1 is the difference between a wall splat loop and a 60% damage reversal on you.
Jump Showdown Burst Mechanics: When the Gauge Flips
Burst is the second resource layered on top of stamina. While stamina is about whether you can swing, burst is about whether your swings land cleanly through an opponent's guard. According to player reports, the burst state activates when you chain three consecutive blocked attacks or land a parry, and it lasts roughly 1.5 seconds. During that window your next M1 is unblockable and the hitbox expands by a small margin.
Burst Trigger Conditions
| Trigger | Burst Duration | Unblockable Window | Best Follow-up |
|---|---|---|---|
| 3 blocked M1s in a row | ~1.5 s | First M1 after trigger | M1x4 launcher into wall |
| Successful parry (F) | ~1.5 s | Full 1.5 s, all M1s unblockable | Free 40–60% combo |
| Awakening (G) activated | 4 s | All attacks ignore block | Use to extend combos, not to open |
| Rage state (low HP) | 8 s | All attacks bypass parry | Panic reversal only |
Burst is a momentum tool, not a panic button. The most common burst mistake is wasting it on a guarded opponent who simply blocks, refills stamina, and then punishes your now-empty stamina bar. The correct read is: hold the first two M1s, watch the opponent's block, then cash out the burst on the third or fourth hit when they cannot react.
Burst Interaction With Hitboxes
Burst does not just turn attacks unblockable; it also widens the active frames of the swing. According to community data, the burst-active M1 hitbox is roughly 12% larger than the neutral M1 hitbox in horizontal reach. That extra 12% is what lets burst M1s clip opponents who are sidestepping your neutral M1 string. If you want to practice this in a controlled environment, a private server is the cleanest setup — see the Jump Showdown advanced tech guide for the full private server keybind rundown.
Jump Showdown Hitbox Guide: Range, Active Frames, and Whiff Punish
Hitboxes in Jump Showdown are tied to the character's animation frames, not a static cylinder around the model. Each M1 has roughly 4 active frames, with 8 startup frames and 12 recovery frames. The hitbox extends about 4.5 studs forward during the active window, but a dash-cancelled third M1 extends that to roughly 6 studs because momentum carries the model forward.
Hitbox Comparison by Attack Type
| Attack | Startup | Active | Recovery | Reach | Whiff Recovery |
|---|---|---|---|---|---|
| M1 jab | 8 f | 4 f | 12 f | 4.5 studs | High — parryable |
| M1x2 | 8 f | 4 f | 12 f | 4.5 studs | High |
| M1x3 (dash cancel) | 10 f | 4 f | 6 f | 6.0 studs | Low — dash refills |
| M1x4 launcher | 14 f | 4 f | 18 f | 5.0 studs | Very high |
| Upslam (special) | 18 f | 6 f | 22 f | 5.5 studs | Very high |
| Downslam (special) | 16 f | 6 f | 20 f | 5.0 studs | High |
Reading this table, the M1x3 with dash cancel is the most efficient string in the game: lowest whiff recovery, longest reach, and the only string that costs zero stamina when properly cancelled. That is why every competitive player anchors their pressure around it.
Hitbox Whiff Punish Windows
| Whiffed Attack | Your Punish Window | Best Response |
|---|---|---|
| M1 jab (whiffed) | 12 f recovery | Parry F, then M1x4 |
| M1x2 (blocked 2) | 20 f recovery | Burst M1 unblockable |
| M1x4 (launcher whiff) | 18 f recovery | Down-tilt into upslam |
| Upslam (whiffed) | 22 f recovery | Full M1x4 + special follow-up |
| Downslam (whiffed) | 20 f recovery | Side-step, dash, M1x3 |
The single most important whiff to punish is the upslam. Because the upslam recovery is 22 frames — longer than the parry stun of 1.5 seconds — a player who whiffs an upslam cannot escape an M1x4 + special follow-up. Watching for the upslam whiff is a more reliable win condition than trying to read bursts in a 16-player lobby. If you are still learning the parry timing itself, the Jump Showdown parry timing guide breaks down the frame data in detail.
Jump Showdown Framerate Optimization: 60 vs 144 vs 240 FPS
Stamina, burst, and hitboxes all operate on frame data, so framerate is not a vanity metric. At 60 FPS, one frame is 16.7 ms; at 144 FPS, one frame is 6.9 ms. A 4-frame parry window is 66.8 ms at 60 FPS but 27.6 ms at 144 FPS. That is the entire difference between "I can parry on reaction" and "I cannot parry on reaction."
Framerate vs Parry / Dash Window
| FPS | 1 Frame | 4f Parry Window | 6f Dash Cancel Window | Practical Impact |
|---|---|---|---|---|
| 30 | 33.3 ms | 133.2 ms | 199.8 ms | Parries feel "free," combos feel laggy |
| 60 | 16.7 ms | 66.8 ms | 100.2 ms | Standard console/mobile target |
| 120 | 8.3 ms | 33.2 ms | 49.8 ms | PC sweet spot, smooth parry reaction |
| 144 | 6.9 ms | 27.6 ms | 41.4 ms | Competitive PC, near-instant reactions |
| 240 | 4.2 ms | 16.8 ms | 25.2 ms | Diminishing returns, monitor-gated |
Roblox Graphics Settings for Stable FPS
| Setting | Recommended Value | Why |
|---|---|---|
| Graphics Quality | 6–7 | Lower than 6 produces input lag in melee |
| Render Distance | Medium | High render distance tanks FPS in 16-player lobbies |
| Frame Rate Limit | 60 / 144 / 240 | Match your monitor's refresh rate exactly |
| VSync | Off (PC) | Adds 1 frame of input delay |
| Fullscreen | On | Borderless adds 2–4 ms of input delay |
| Texture Quality | Medium | Stamina bar and burst flash need to render fast |
| Particle Quality | Low | Awakening effects are the heaviest particles |
Players on Roblox mobile or console should cap at 60 FPS because the engine's netcode interpolates better at 60 than at unstable 90+. If you are on mobile, the Jump Showdown advanced tech guide has a mobile controls section that pairs well with the 60 FPS cap.
Diagnosing Stamina FPS Drops
If your stamina bar visually desyncs from your inputs, your FPS is dropping. According to community reports, the most common culprits are:
-
Awakening effects — 4-second ultimate animations drop FPS by 15–25 in 16-player lobbies
-
Multiple stamina flashes — two players bursting at once double the particle load
-
High render distance — past 80% the engine re-uploads the stamina UI texture every frame
-
Background recording — OBS at 60 FPS adds 4–6 ms of frametime variance
Putting It All Together: A Burst-Stamina-FPS Game Plan
The three systems — stamina, burst, and FPS — form a single decision loop. You swing on stamina, you cash out on burst, and you execute on hitbox frames that your framerate can actually read. The fastest path to improvement is not memorizing combos; it is learning to read the stamina bar before committing to the third M1.
Combat Decision Flow
| Step | Trigger | Read | Action |
|---|---|---|---|
| 1 | Open the fight | Stamina 100% | M1x2 to test guard |
| 2 | Opponent blocks twice | Burst window loading | Hold third M1, watch stamina |
| 3 | Stamina above 40% | Safe to commit | M1x3 into dash cancel |
| 4 | Opponent below 35% HP | Rage burst incoming | Side-step, parry, reset |
| 5 | Stamina below 40% | Punish window for opponent | Back off, regen, reset neutral |
| 6 | Burst active | Unblockable window | M1x4 launcher into wall combo |
This flow assumes a 60 FPS baseline. At 144 FPS you can replace step 2 with a parry read because the 4-frame parry window is reactable; at 30 FPS you must replace it with a pre-emptive block because the parry window is too forgiving to read.
Common Stamina Mistakes
| Mistake | Why It Fails | Fix |
|---|---|---|
| M1x4 at 30% stamina | Launcher costs 42 units, you cannot finish | Hold at M1x3, dash cancel, regen |
| Burst on a blocking opponent | Burst expires, stamina empty, opponent punishes | Hold burst for 2 seconds, then cash |
| Awakening when stamina is empty | Awakening does not refill stamina, you still cannot swing | Use awakening to escape, not to extend |
| Side dash at low stamina | Dash cancel is locked below 40% for 1.2 s | Use ragdoll cancel instead |
| Whiffing upslam at low stamina | 22-frame recovery feeds M1x4 + special | Whiff upslam only when stamina is 100% |
If you are new to the movement side of this game and want to pair stamina budgeting with proper evasion, the Jump Showdown evasion guide covers ragdoll cancel timing, awakening windows, and how to spend your ultimate meter without starving your stamina bar.
Frequently Asked Questions
How long does Jump Showdown stamina take to refill fully?
Full stamina refill from empty takes roughly 4.5 seconds of no swinging, according to community testing. Standing still refills faster than moving because dash and jump animations pause the regen tick. The first 30% refills in about 1.2 seconds, the next 40% in another 1.5 seconds, and the final 30% in the remaining 1.8 seconds.
Does burst activate on a parry in Jump Showdown?
Yes, a successful parry on F triggers the same 1.5-second burst window as three consecutive blocked attacks. The difference is that parry burst also stuns the attacker for 1.5 seconds, which means every M1 in the window is unblockable and unhittable for the opponent. Parry burst is the highest-damage opening in the game.
Can I whiff-punish the M1x4 launcher in Jump Showdown?
Yes, the M1x4 launcher has 18 frames of recovery and a 5.0 stud reach, which is shorter than the M1x3 dash cancel reach of 6.0 studs. Side-stepping the fourth M1 and dashing in gives you a free M1x3 starter plus a special follow-up. This is the cleanest whiff punish in the game and works at 60 FPS or higher.
What is the best framerate for Jump Showdown on PC?
144 FPS is the practical sweet spot. The 4-frame parry window becomes reactable at 120 FPS and above, and the engine's netcode interpolates cleanly up to 240 FPS on most modern GPUs. Below 60 FPS the parry window is too forgiving to read, and the stamina bar visibly stutters during multi-player bursts.
Does Jump Showdown stamina work the same on mobile?
Stamina costs and regen rates are identical on mobile and PC, but the parry window feels tighter because most mobile devices cap at 60 FPS. The recommended fix is to play mobile on a 60 FPS cap with graphics quality at 5 and render distance at medium. This keeps stamina flashes smooth without dropping the engine into 30 FPS fallback mode.