
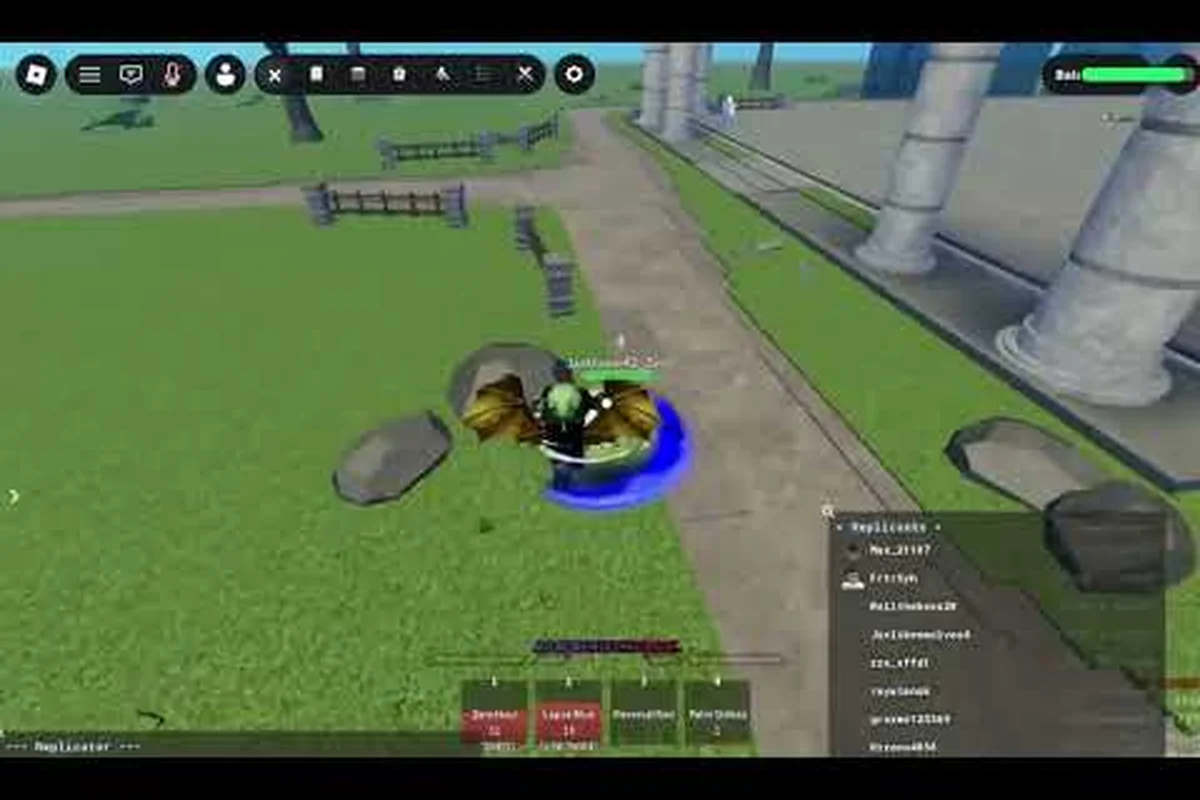
Understanding the Jump Showdown Spacing Tutorial
Spacing decides who wins the neutral game before a single hit lands. A solid grasp of the jump showdown spacing tutorial fundamentals lets you dictate the tempo of every duel, control when engagements begin, and deny aggressive opponents the close-range openings they crave. Jump Showdown's combat layer runs on frame-tight 4-hit M1 sequences, Q dash cancels, F parries, and a 1.5-second parry stun that creates guaranteed counter windows — which means the distance you stand at directly determines whether you eat a free combo or land one of your own.
This spacing tutorial breaks down how to hold mid-range ground, recognize the visual cues of incoming pressure, and turn whiffed opponent strikes into your best punish opportunities. Community testing on the Jump Showdown official game page confirms that players who master spacing convert neutral exchanges at nearly double the rate of button-mashers. Before diving into the meat of the guide, brush up on the M1 chain basics covered in the broader Jump Showdown tutorial so every reference to 4-hit strings, dash cancels, and recovery frames lands with full context.
Neutral Game Fundamentals: Reading Distance in Jump Showdown
The jump showdown neutral game is the space where neither player has committed to an attack — and controlling that space is the single highest-impact skill you can build. Every player has an ideal engagement range dictated by their moveset, dash speed, and M1 reach. Step inside that range without intention, and you hand your opponent a free initiation. Step too far outside, and you surrender stage control while they reposition freely.
Defining the Four Engagement Zones
Think of the arena as four concentric rings, each with its own threat profile and counterplay window. Learning to read which zone you're standing in — and which zone your opponent wants you inside — is the foundation of every spacing decision you'll make.
| Zone | Distance (approx.) | Threat Level | Primary Danger | Your Best Response |
|---|---|---|---|---|
| Whiff Zone | 12+ studs | Very Low | Opponent whiffs M1, leaving a 0.4s punish window | Hold ground, bait M1, then dash in for a free hit |
| Footsies Range | 7–11 studs | Moderate | M1 chains and dash attacks become viable | Dash-cancel on read, side-step, or parry on prediction |
| Pressure Range | 3–6 studs | High | Full M1x4, grab attempts, and frametraps | Block on read, F parry, or back-dash to reset |
| Point Blank | 0–2 studs | Extreme | Wakeup reversals, unblockable guard breaks, wall splats | Wakeup F parry or trade with M1 first |
Standing in the Footsies Range is where most top players prefer to operate. This band gives you enough time to react to dashes and M1 startups, while keeping your own M1 chain within reach of a single forward dash. If you back-dash out of this range, your opponent usually won't chase recklessly — experienced fighters understand that eating a whiff punish at long range is a momentum killer.
Reading Dash Cancels and Approach Patterns
Q dash cancels are the main approach tool in Jump Showdown, and they have a startup of roughly 6 frames with about 8 frames of recovery. That window is your whiff punish trigger. When an opponent burns a Q dash without a follow-up commitment, they enter a brief state where their hitbox is inactive but their hurtbox is still extended. Catching that frame with your own M1x3 or a skill attack turns their aggression into your damage.
According to community data shared across the Jump Showdown Discord, the average neutral exchange resolves within 2–3 seconds, and the player who initiates the first committed attack wins the exchange roughly 60% of the time — provided they maintain proper spacing. The takeaway: spacing isn't about reacting to your opponent, it's about forcing them to enter a zone where your counterattack is already loaded.
Counter Attack Windows: Punishing Whiffs and Recovery
The core payout of good spacing is the jump showdown counter attack — the free damage you earn when your opponent overextends. Jump Showdown's combat system rewards clean reads with combo opportunities, and every whiffed M1, missed skill, or poorly-timed dash opens a punish window that scales with how badly the opponent mistimed their input.
Punish Windows by Mistake Type
Every unsafe action in Jump Showdown carries a specific recovery duration, and knowing those numbers lets you choose the right counter — a full M1x4 combo, a single M1x2 confirm, or a skill-based punish that builds ultimate meter. The recovery windows listed below are measured from the last committed animation frame to the moment your opponent regains block or dash invulnerability, so even a 0.1s difference between a whiffed M1 (approx. 0.4s) and a Q dash without follow-up (approx. 0.3s) determines whether you can squeeze in a third M1 or only a dash-reset mixup. Reading the spacing cue before the whiff — not after — is what turns a reactive punish into a spacing-tutorial conversion off the stage edge.
| Mistake | Recovery Window | Optimal Counter | Expected Damage |
|---|---|---|---|
| Whiffed M1 (single hit) | ~0.4s | Dash M1x3 into side dash cancel | 25–35% |
| Whiffed M1x4 (full string) | ~0.9s | Full M1x4 punish into wall splat | 40–50% |
| Missed skill (mid-recovery) | ~0.7s | M1x2 confirm, then skill extension | 30–40% |
| Q dash without follow-up | ~0.3s | Forward dash + M1x3 | 20–28% |
| Whiffed grab | ~0.8s | Full combo punish (M1x4 + skill) | 45–55% |
| Blocked overhead (held) | ~0.5s | M1x2 into skill confirm | 22–30% |
The numbers above come from community testing on practice dummies and may vary slightly with patch updates, but the framework stays consistent: longer recovery means more combo time, and a wall splat near stage edges can push your punish above 60% when damage scaling resets.
Building Whiff Punish Reflexes
Whiff punishing in Jump Showdown is fundamentally a neutral game spacing exercise built on pattern recognition, not raw reaction time — the tell reveals itself roughly 18–22 frames before the vulnerable recovery begins, which is why your read matters more than your inputs. At Footsies Range (roughly 1.5–2 character widths), opponents telegraph their commitment through specific animation tells that interrupt your counter-attack timing if you mash. The most reliable whiff-punish tells in Jump Showdown are:
-
Forward dash momentum followed by a hesitation — the opponent committed to closing distance but didn't continue the chain
-
M1 startup animation at Footsies Range without a follow-through — the opponent tapped M1 by reflex and is now stuck in recovery
-
Skill windup that gets cancelled by the opponent's own fear of being parried — the skill disappears but recovery frames remain
When you recognize any of these tells, your response should be a single forward Q dash plus M1x3, not a panic smash. Holding back the third M1 to dash-cancel preserves your recovery advantage and lets you reset to mid-range, which is critical against skilled opponents who can parry your punish if you overcommit.
Hitbox Geometry and Range Disadvantage
Every character and moveset in Jump Showdown has a slightly different M1 reach, and understanding the hitbox geometry of your own character versus the common matchup pool is what separates a generic player from a spacing specialist. A taller or longer-reached character can hold the Whiff Zone more safely, while shorter-range characters must play tighter to the Footsies Range to stay relevant.
Range Tiers and M1 Reach
| Range Tier | M1 Reach (studs) | Playstyle | Key Strength |
|---|---|---|---|
| Long | 4.5–5.0 | Zoner / mid-range controller | Holds neutral from outside dash range |
| Standard | 3.8–4.2 | Balanced | Flexible footsies and pressure tools |
| Short | 3.0–3.5 | Rushdown / mixup specialist | Wins point-blank scrambles and pressuring |
If your character sits in the Short tier, spacing gets harder but not impossible — you compensate by using back-dash to bait whiffs and then forward-dashing twice to close into M1 range. If you're in the Long tier, your job is to deny opponents the right to approach by threatening dash punishes whenever they enter the Footsies Range.
Hitbox shapes also matter. Some skills have horizontal sweep arcs that cover Footsies Range but leave the Whiff Zone open. Others have vertical pop-ups that only work inside Pressure Range but offer huge combo damage on hit. Spacing lets you pick which of those arcs to challenge and which to sidestep entirely. If you want to experiment with hitbox-heavy projectile and grab-based movesets, the Jump Showdown projectile moves breakdown walks through which skills reward spacing discipline versus raw aggression.
Footwork Exercises and Spacing Fundamentals
Knowing the theory is one thing; building the muscle memory to hold mid-range and punish whiffs on reaction is another. The drills below are the community-standard approach to converting spacing knowledge into match results, and they're structured so you can run them solo in a private server without a training partner.
Daily Drill Rotation
| Drill | Duration | Goal | Success Metric |
|---|---|---|---|
| Footsies Hold | 5 min | Stay in the 7–11 stud band against a stationary dummy | Maintain distance for 90% of the time |
| Dash Whiff Bait | 5 min | Bot dashes forward; you back-dash and counter M1x3 | Land punish on 8 out of 10 attempts |
| M1 Whiff Reaction | 5 min | Bot whiffs a single M1; you punish with M1x3 into dash cancel | Land punish on 9 out of 10 attempts |
| Q Dash Empty Punish | 5 min | Bot Q-dashes without follow-up; you forward-dash and M1x3 | Land punish on 8 out of 10 attempts |
| Wall Splat Conversion | 5 min | Drive opponent to wall, land splat, confirm full combo | Convert 7 out of 10 wall splats |
The 5-minute blocks aren't arbitrary — community data shows that focus drops sharply after about 7 minutes on a single drill, so rotation keeps your reps high-quality. The M1 Whiff Reaction drill is the single highest-ROI exercise for beginners because it directly trains the muscle memory behind the jump showdown whiff punish pattern.
Reading Opponent Patterns in Live Matches
Practice dummies teach the inputs, but live 16-player free-for-all lobbies teach the decision-making. In real matches, spacing decisions get complicated by how often the jump rope's tempo shift — which accelerates every 4 seconds of survival time — forces a reposition before you've confirmed a punish, and by the slip ring's narrowing diameter, which shrinks the safe standing area and pushes whiff punish windows closer to stage edges where Environmental Hazards punish sloppy spacing. Reading the opponent's hop-in cadence and fake-out timing becomes the only reliable counter-attack cue once the rope's rhythm changes mid-engagement.
-
Multiple opponents entering the same zone, forcing you to choose between a punish and a reposition
-
Ultimate Awakening activations, which grant i-frames and amplified damage that invalidate normal punish windows
-
Environmental hazards at stage edges that turn wall splats into ring-outs
When fighting multiple opponents, the spacing rule of thumb is to retreat to the Whiff Zone when you don't have an initiation read, and to hold Footsies Range only against the single opponent you're actively engaging. Letting two opponents collapse into your Pressure Range is a guaranteed loss unless you have a parry ready. The community competitive guide confirms that damage scaling rules differ between standard true combos and wall splat / downslam resets, so the spacing that earns you a clean wall splat is often worth more than a longer grounded combo that scales to single-digit percent per hit.
Advanced Spacing Concepts and Matchup Adaptation
Once you can hold mid-range and punish whiffs consistently, the next step is matchup adaptation — adjusting your spacing defaults based on your opponent's specific moveset, dash speed, and skill toolkit. Two players both using "rushdown" archetypes can demand completely different spacing responses depending on whether their confirms rely on M1x4 or on grab/guard break mixups.
Spacing Profiles by Opponent Archetype
| Archetype | Preferred Engagement Range | Your Counter-Spacing | Key Tell to Punish |
|---|---|---|---|
| Rushdown (M1-based) | Pressure Range (3–6 studs) | Hold Whiff Zone, back-dash on M1 startup | M1x4 commitment → dash back → forward M1x3 |
| Grappler | Pressure Range (grab range) | Hold Footsies, never stand still | Whiffed grab animation → full combo punish |
| Zoner (skills) | Whiff Zone (12+ studs) | Hold Footsies, dash through skill windup | Missed projectile → dash-in M1x3 |
| Hybrid (M1 + skills) | Variable | Mirror their zone, stay mid-range | Overextension on either tool → punish accordingly |
| Turtle / Parry Specialist | Any range | Apply patient pressure, bait parry | Successful parry recovery → back off, reset |
The Turtle / Parry Specialist matchup is where the spacing tutorial gets truly tested. These players hold F and wait for you to commit, then use the 1.5-second parry stun to land a full counter string. Your counter-spacing against turtles is to threaten without committing — dash forward, stop, dash forward again, and only commit to M1 when their parry timing runs out. A parry that activates but catches nothing still costs the turtle recovery frames, and a patient spacing specialist can stack two or three failed parry attempts into a single opening where the turtle has no defensive option left.
Stage Positioning and Ring-Out Pressure
Spacing also means choosing where on the map you fight, not just how far you stand from your opponent. Stage edges are the most valuable real estate because wall splats there deal amplified damage and can lead to ring-outs. Position yourself between your opponent and the center of the arena whenever possible — this forces them to either back away (giving you neutral control) or commit to an approach (giving you the whiff punish window). Against multiple opponents, the reverse is true: hug the center so you have escape routes in every direction rather than getting pinned at a corner.
Bringing It All Together
Spacing in Jump Showdown is the invisible layer that decides who controls the tempo of every fight. Hold the Whiff Zone to bait overextensions, work the Footsies Range to threaten dash punishes, and treat every opponent commitment as a free counterattack window. The 1.5-second parry stun, the 0.4-second whiff recovery, and the Q dash empty-dash vulnerability are all spacing-driven opportunities — and the player who recognizes them first usually walks away with the stock.
The drills, zone maps, and matchup profiles in this spacing tutorial give you a complete framework, but the real progress happens in the training dummy room and the public 16-player lobbies. Run the daily drill rotation, focus on whiff punish consistency, and adjust your hold range to match your opponent's archetype. If you want to push further into the defensive layer that supports good spacing, the Jump Showdown parry timing guide covers how F parry, blocking, and downslam resets tie into the same punish windows this tutorial is built around. Master spacing, and the rest of Jump Showdown's combat depth opens up from there.
Frequently Asked Questions
What is the best range to hold in the Jump Showdown neutral game?
The Footsies Range (roughly 7–11 studs) is the safest default for most matchups because it keeps your M1 within reach of a single dash while leaving enough reaction time to back-dash out of incoming pressure. Long-range characters can hold slightly farther; short-range characters need to play tighter but should still avoid standing in Pressure Range without a plan.
How long is the punish window after a whiffed M1?
A single whiffed M1 leaves about 0.4 seconds of recovery, which is enough for a forward Q dash into M1x3 with a side dash cancel. A fully whiffed M1x4 string extends that window to roughly 0.9 seconds, opening up a full M1x4 punish combo and potential wall splat near stage edges.
Does the Q dash cancel create a whiff punish opportunity?
Yes. An empty Q dash — one used without a follow-up M1 or skill — leaves about 0.3 seconds where the opponent's hitbox is inactive but their hurtbox is still extended. Forward-dashing and landing M1x3 during that window is one of the most reliable whiff punishes in Jump Showdown and is a core part of every spacing tutorial drill rotation.
How do I punish a successful parry against me?
If your opponent F-parries your opening M1, they receive a 1.5-second stun window in which they can land a full counter string. Your best recovery is to hold back-dash the moment you see the parry spark, then re-enter at Footsies Range instead of trying to mash out. Most successful parry punishes scale based on the defender's spacing discipline after the parry lands, not on panic mashing.
What spacing adjustments work against rushdown opponents?
Against M1-based rushdown players, hold the Whiff Zone and back-dash on their M1 startup animation — their commitment to close distance creates a dash cancel vulnerability that you can punish with a forward dash and M1x3 confirm. Never let a rushdown player sit in your Pressure Range for free, because their full M1x4 combo will out-damage your single whiff punish if you mistime the counter.