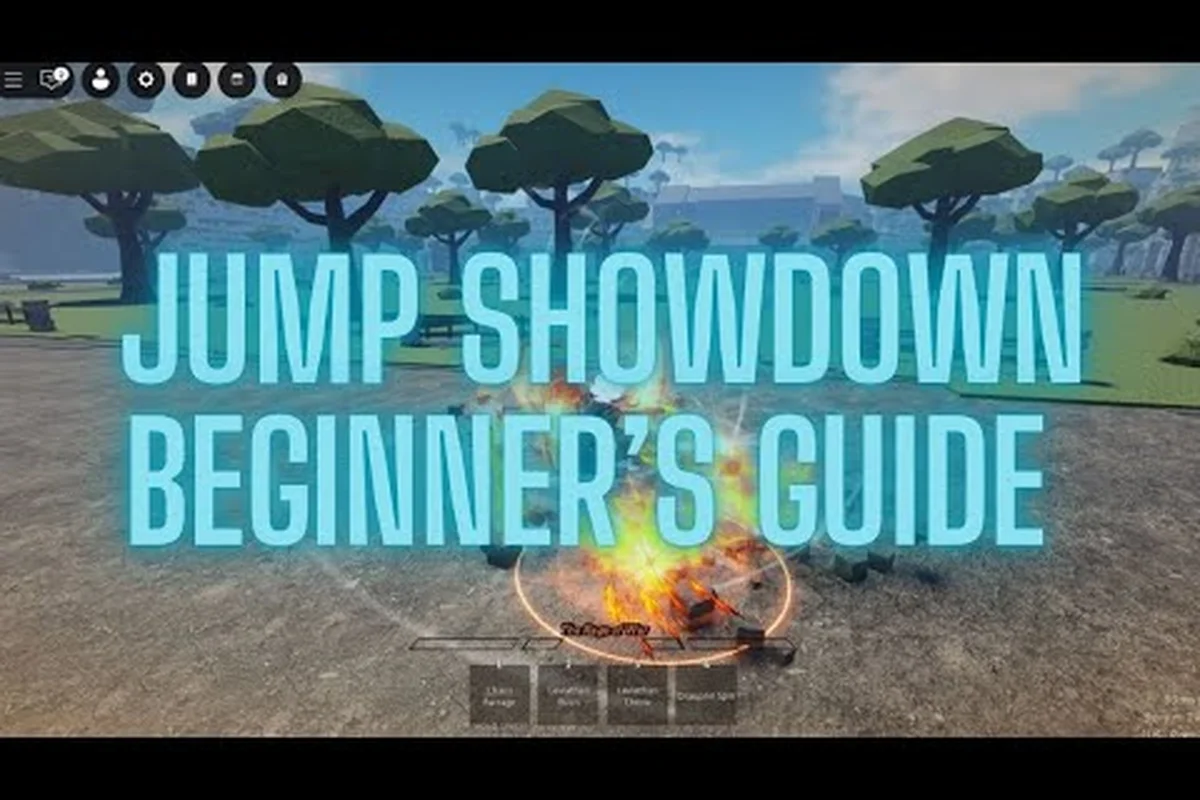
Jump Showdown is a 16-player anime arena fighter on Roblox where raw button mashing collapses against any opponent who understands frame data. This jump showdown advanced tech guide breaks down the momentum chains, parry punish windows, and platform-specific control layouts that separate casual lobbies from ranked wins, so you stop guessing and start punishing.
Why Frame Knowledge Wins Free-For-All Lobbies
Jump Showdown combat runs on a 4-hit M1 string with startup, active, and recovery frames that punish commitment if you ignore them. A third-M1 dash cancel resets recovery and extends your pressure, which is the core bread-and-butter every advanced player uses. The block button doubles as a parry with a tight timing window, and landing it stuns attackers for roughly 1.5 seconds, which is enough time to start a full counter string. Players who learn these windows stop trading hits and start controlling engagements.
Ragdoll recovery is the other pillar of advanced play. You have roughly 15 to 20 seconds of cooldown on your escape option, and getting caught without it lets opponents chain wall splats for 60%+ damage loops. The jump showdown advanced tech toolkit is essentially about creating openings before your opponent can recover, then denying their escape windows through spacing and frame traps.
Community testing on the official Jump Showdown Roblox page confirms damage scaling rules: true combos scale down gradually per hit, but wall splats and downslam resets bypass standard scaling thresholds. This means raw combo length matters less than the type of hit you land, and a single wall splat often out-damages a five-hit string.
The Core Neutral Game Triangle
Three options govern every neutral exchange: attack, block, and movement. Each has frame data attached, and each loses to one of the others when timed correctly. Attack loses to block and parry, block loses to dash-through movement, and movement loses to read-based attacks. Mastering jump showdown advanced tech means reading which option your opponent favors and selecting the counter before they commit.
| Option | Startup | Recovery | Beats | Loses To |
|---|---|---|---|---|
| M1 (Light) | 6f | 12f | Movement reads, block-pierce setups | Parry, spaced block |
| M1 (Heavy finisher) | 10f | 22f | Block (guard break), parry bait | Spaced dash-back |
| Parry (F) | 4f parry window | 18f | M1 strings, dash attacks | Feints, grab, projectile |
| Dash (Q) | 3f startup | 8f recovery | Block pressure, projectile gap-close | Whiff-punish read |
| Grab | 8f | 16f | Block, parry | M1 interrupt, dash-away |
Frame counts are reported by community testers and can shift by 1–2 frames across platform patches or after balance updates, so treat the parry window (4f) and dash startup (3f) values above as approximations rather than absolutes. Before you commit to a counter in ranked, recreate the exact spacing on a private server dummy — for example, confirm that your dash-back cleanly avoids the 22f heavy finisher recovery, or that a 4f parry input reliably catches a 6f M1 string. Building that muscle memory against a known input source eliminates the platform-to-platform variance that otherwise turns confirmed setups into guesses.
Momentum Chains and Dash-Cancel Pressure
Momentum preservation through dash-jumping is the single most important jump showdown advanced tech skill. When you dash cancel on the third M1, your character resets to neutral instead of entering the long finisher recovery. This gives you time to confirm a side dash, re-position, and either start a new string or bait a parry that you then punish.
The pattern looks like this: M1 → M1 → M1 → dash cancel → M1 → M1 → M1 → dash cancel into finisher. Each cancel window is roughly 4 frames wide, which sounds forgiving until you factor in network latency on console lobbies. Players report that 60ms or lower ping makes the window feel consistent, while 100ms+ ping introduces enough variance that tight cancels feel like coinflips.
Cancel Timing and Ping Compensation
The third M1 cancel happens during the hitstop of the third strike. On most private servers, the visual cue is a brief white flash on your character model. On lower-ping connections, you can input the dash roughly 2 frames before the hitstop resolves and still get the cancel. On higher-ping connections, you have to wait for the actual hit confirm before pressing dash, which shrinks your combo window.
| Ping Range | Cancel Input Timing | Window Feel | Recommended Setup |
|---|---|---|---|
| 0-40ms | 2f pre-hitstop | Generous | Train as normal |
| 41-80ms | On hitstop flash | Standard | Train with delay buffer |
| 81-120ms | 3-4f post-hitstop | Tight | Add 1f input delay buffer |
| 121ms+ | Visual confirm only | Unreliable | Lower graphics, wired connection |
This is one of the core jump showdown pvp guide fundamentals, because cancel reliability directly determines whether your pressure converts to damage or gets parried on reaction. Players who master the timing report climbing from casual to top-200 ranked within a few sessions.
Side Dash Mixups After Cancel
The dash cancel gives you a free reposition, but most players immediately re-enter M1 pressure, which is predictable. The advanced option is to side dash into a grab mixup, which beats block and punishes players who mash parry on reaction. From a side dash, you have three core options: dash-in M1 (beats block), dash-in grab (beats parry), and dash-back into projectile (beats both, but loses to read-based dash-forward).
For training these mixups, the Jump Showdown private server skill builder sandbox lets you set up a stationary dummy and rehearse each option until the input feels automatic. The skill builder restrictions post also covers which custom build rules apply to training modes versus ranked play.
Optimal Parry Conversion Routes and Counter Strings
A successful parry stuns the attacker for about 1.5 seconds, which is the entry point for every counter string in jump showdown advanced tech. The window is long enough for a full M1 string plus a finisher, but the actual punish depends on where the parry happens. Corner parries give you wall splat extensions, mid-stage parries give you combo enders, and edge parries can sometimes reset the opponent away from the kill zone.
The parry window itself is roughly 4 frames, which means you cannot react to the attack itself. You have to predict the timing based on range, opponent habits, and string rhythm. The community competitive guide confirms that M1 → M1 → M1 → parry is the most common bait pattern, because the third M1 has a slight recovery dip that lets the defender input parry before the actual hit lands.
Counter String Variants
After a parry, you have roughly 1.5 seconds before the stun ends. The most common counter string is M1x3 → dash cancel → M1x3 → finisher, which deals solid damage and sets up a wall splat near stage edges. The advanced variant chains into a grab mixup after the first M1x3, which catches players trying to mash escape.
| Counter String | Damage (Rough) | Wall Splat Setup | Best Stage Position |
|---|---|---|---|
| M1x3 → cancel → M1x3 → finisher | 45-55% | Yes, on edge | Mid-stage toward edge |
| M1 → grab → M1x2 → finisher | 35-40% | No | Corner only |
| Parry → dash forward → M1x4 | 50-60% | Yes | Edge of map |
| Parry → back throw → dash chase | 30-35% | Optional | Anywhere |
Damage values in jump showdown advanced tech are based on community testing and scale down roughly 10-15% per consecutive hit, so a raw combo that looks like 70% on paper often lands closer to 50% in practice. Wall splats and downslam resets bypass standard scaling entirely, which is why edge parries deal noticeably more total damage than mid-stage parries even when the input effort feels identical. Tracking the 1.5-second parry stun window becomes critical for chaining the 50-60% Parry → dash forward → M1x4 string without dropping the wall splat setup.
Platform-Specific Control Layouts
Jump Showdown is playable on PC, mobile, and console, but the control layout changes significantly between platforms. The default PC keyboard layout places Dash on Q, Block and Parry on F, Awakening on G, and character skills on the number keys 1 through 4. Mobile uses a virtual gamepad with customizable button positions, and console players get a controller mapping that can be remapped in the settings menu.
This jump showdown mobile controls section matters because the timing windows for parry and dash cancel feel different on touch input. The 4-frame parry window becomes harder to hit consistently on mobile because touch latency adds roughly 8-12 frames of input delay compared to keyboard. Community reports suggest that lowering touch sensitivity and using a larger parry button helps close the gap.
Default Bindings by Platform
| Input | PC Keyboard | Mobile (Default) | Console (Default) |
|---|---|---|---|
| M1 | Left Click | Tap Attack | RT / X |
| M2 | Right Click | Tap Heavy | RT Hold |
| Dash | Q | Swipe + Dash button | LT / B |
| Block/Parry | F | Hold Block button | LB / A |
| Awakening | G | Tap Awakening | RB / Y |
| Skill 1-4 | 1, 2, 3, 4 | Skill wheel | D-pad / face buttons |
| Jump | Space | Auto-jump toggle | A / Cross |
For mobile players, the recommended setup is to move the parry button to the right thumb position and enable auto-jump to free up input capacity. Console players report that switching jump to a bumper gives faster aerial cancels, which helps with anti-air reads covered in the jump showdown evasive read combos guide.
Jump Showdown Console Guide Specifics
The jump showdown console guide angle is that controller input has fixed stick deadzones that affect dash-cancel consistency. If your left stick has a noticeable deadzone at center, your dash inputs can drop on micro-movements, which breaks the cancel timing chain. Most controller players reduce in-game deadzone to 5-10% and increase stick sensitivity to compensate, which gives cleaner dash inputs without over-shooting.
Camera sensitivity is another console-specific setting. Higher sensitivity helps track opponent side-steps and anticipate unblockable guard break attacks, but too high makes anti-air reads harder. The community-recommended middle ground is 60-70% camera sensitivity with smoothing enabled, which tracks movement without skipping frames.
Private Server Training Routines
Every advanced player trains on a private server before entering ranked play, because live lobbies punish mistakes harder than any training mode can. The jump showdown private server guide workflow is straightforward: spawn a stationary dummy, set the dummy to passive or counter-attack mode, and rehearse each combo string until muscle memory takes over.
A solid training routine covers three layers: combo execution, defense practice, and matchup knowledge. Combo execution is the M1 cancel chains and counter strings covered above. Defense practice is parry timing and block-punish reads. Matchup knowledge is learning which opponents favor which options, which is harder to train solo and requires real-match experience.
Suggested 30-Minute Daily Routine
| Block | Duration | Focus | Drill |
|---|---|---|---|
| Warm-up | 5 min | Cancel timing | M1x3 → cancel repeat, 100 reps |
| Combos | 10 min | Counter strings | Parry → full string, both wall splat setups |
| Defense | 10 min | Parry reads | Set dummy to aggressive, parry every third M1 |
| Movement | 5 min | Dash spacing | Side dash → grab mixup loop, both directions |
Players who run this routine daily report noticeable improvement in cancel consistency within a week, with the cancel timing block specifically targeting the sub-15-frame M1 cancel window that most players miss during live match pressure. The reason muscle memory matters here is that the 4-frame windows are too tight to learn on the fly in live matches; consistent 100-rep sets of M1x3 → cancel build the reflex so the inputs chain before the animation lockout finishes.
Boss Encounter Application
The same frame data fundamentals apply to boss fights, which is why the jump showdown private server boss fight encounter guide is worth reviewing. Bosses have telegraphed attack windows that work like extended parry windows, and learning to read telegraphs is the same skill as learning to read M1 strings. Boss health scaling and attack hitbox data are covered in that guide, and the principles transfer directly back to player combat.
Tuning Settings for Competitive Play
Graphics and audio settings affect gameplay more than most players realize, especially on PC and console where frame drops can desync your input timing. The recommended setup for ranked play is medium-to-high graphics with frame priority enabled, which keeps input latency under 16ms on most hardware. Mobile players should disable background effects and reduce particle density, because touch input already adds latency and visual noise makes hit confirms harder.
Audio cues are underrated in jump showdown advanced tech. Parry startup has a distinct sound, dash attacks have a whoosh, and grab telegraphs a grunt roughly 8 frames before the active window. Playing with sound on and learning these cues gives you a free read layer that most players ignore.
Recommended Settings by Platform
| Setting | PC | Mobile | Console |
|---|---|---|---|
| Frame Priority | Enabled | N/A | Performance mode |
| Particle Density | Medium | Low | Medium |
| Camera Sensitivity | 50-60% | N/A | 60-70% with smoothing |
| Audio | Stereo, max volume | Headphones recommended | Headphones recommended |
| Stick Deadzone | N/A | N/A | 5-10% |
| Touch Sensitivity | N/A | Medium-Low | N/A |
These settings are based on community recommendations and may shift with future patches. The recent jump showdown server stability patch notes ongoing tuning for clarity, so check the patch notes after each update before locking in your config.
Frequently Asked Questions
What is the easiest jump showdown advanced tech to learn first?
The M1x3 dash cancel is the easiest entry point because it only requires one extra input per string and the timing window is forgiving at lower ping. Master this cancel first, then add the parry punish and grab mixup layers. Trying to learn everything at once is the most common reason players plateau.
How does jump showdown pvp guide content differ on mobile versus PC?
Mobile players face roughly 8-12 frames of extra input delay, which tightens every timing window. The core strategies are identical, but mobile players should prioritize grab mixups over dash-cancel chains because grab has a longer startup that absorbs the touch latency better. Custom button placement also matters more on mobile.
Can I practice jump showdown advanced tech on a private server?
Yes, the skill builder mode in private servers lets you spawn a stationary dummy and rehearse combos indefinitely. The jump showdown private server guide recommends 30-minute daily sessions split between combo execution, defense, and movement drills. Private servers also let you test custom builds before risking them in ranked.
What are the best jump showdown mobile controls for parry timing?
Move the parry button to your right thumb and enable auto-jump to free up input capacity. Lower touch sensitivity slightly and use a larger parry button, which helps close the latency gap. Most mobile players also disable haptic feedback because it can mask the visual hit confirm cue.
Does jump showdown console guide advice change for fightpad versus stick?
Yes, fightpads have lower input latency than analog sticks but lack the range of motion for dash-cancel micro-spacing. Stick players should reduce deadzone to 5-10% and increase sensitivity to compensate, while fightpad players can use default mappings and focus on execution drills instead.