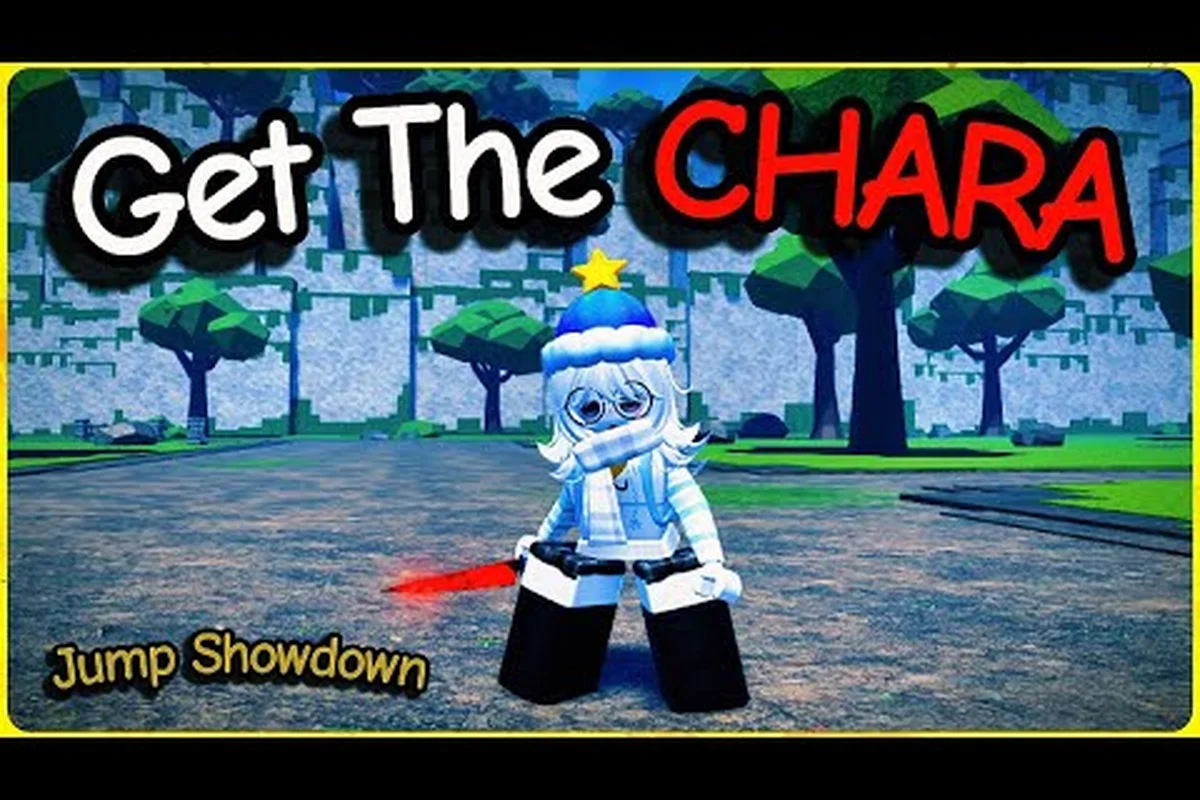
A Jump Showdown private server boss fight gives you total control over HP scaling, spawn timers, and party size, which makes it the best sandbox for learning attack hitboxes and counter timings before tackling a public Chara raid. This guide covers the full arena setup, every major move's hitbox footprint, and the solo ultimate walkthrough routes reported by the community as the cleanest clears.
Setting Up the Private Server Boss Encounter
Before you queue into public lobbies, hosting a Jump Showdown private server boss encounter lets you isolate one boss, crank HP to test breakpoints, and reset between attempts without losing your place in the daily loot cycle. According to the Jump Showdown official page, the world event flag determines whether Chara and the Cursed Child can spawn, so confirm your world settings before you start farming.
Recommended Host Configuration
A few toggles make practice dramatically faster. Most players running solo training sessions stick to the table below, while full raid groups bump HP and add a second inviter.
| Setting | Solo Practice Value | Full Raid Value | Why It Matters |
|---|---|---|---|
| World Event Spawn Rate | 100% (forced) | 60% (natural) | Guarantees Chara on entry instead of waiting through lobby cooldowns |
| Boss HP Multiplier | 1.0x | 3.0–5.0x | Lets solo players learn real phase transitions without one-shot deletes |
| Phase Transition Timer | 45 seconds | 25 seconds | More recovery windows during the learning phase |
| Player Damage Cap | 25% per hit | Uncapped | Prevents accidental burst kills that skip the enrage tutorial |
| Friendly Fire | Off | Off | Removes accidental team-kill resets on projectile spam |
| Respawn Cooldown | 5 seconds | 15 seconds | Keeps ultimate meter generation steady for repeated attempts |
Start every practice session on the solo column, then shift to the raid column once you can consistently reach Phase 3 without losing your awakening bar. If you want a deeper breakdown of private server flags outside of boss fights, the advanced tech guide covers the broader menu.
Spawn Locations and Pre-Fight Setup
Chara and the Cursed Child both activate at the cursed altar summoning circle on the outskirts of the city map, while a secondary arena opens inside the main lobby once a world event flag flips. Walk the arena edge before engaging so your camera is centered; this is the single most common fix for missing the circular blood knives during Phase 2, because players tend to lock onto the boss model and lose peripheral awareness of incoming slashes.
-
Cursed Altar Circle: the standard summon point, best for solo and duo runs because the geometry funnels slashes into predictable lanes.
-
Main Lobby Arena: the largest footprint, optimal for four-player raids where you want spacing to dodge screen-covering enrage waves.
-
Rooftop Balcony: a community-discovered high ground that some players use to bait Chara's lunge recovery, though the elevation can clip certain dash attacks if the server has aggressive anti-cheese checks.
Jump Showdown Boss Health Scaling and Phase Thresholds
Jump Showdown boss health scaling changes drastically between solo and full raid lobbies, and the break points dictate when enrage triggers fire. Reported by players on the official Discord, the values below represent the most consistent data points for Chara (Cursed Child) as of the late-2026 patch cycle.
HP Curve by Player Count
| Player Count | Base HP | Phase 2 Threshold | Phase 3 Enrage Trigger |
|---|---|---|---|
| 1 player (solo) | ~120,000 | 60% remaining | 30% remaining |
| 2 players | ~210,000 | 60% remaining | 25% remaining |
| 4 players | ~380,000 | 55% remaining | 20% remaining |
| 8 players (raid) | ~720,000 | 50% remaining | 15% remaining |
The base HP scales roughly linearly with player count, but the enrage trigger shrinks faster than the total pool, which is why eight-player raids feel chaotic — the same percentage of damage removes a much larger absolute HP chunk and pushes the boss into enrage sooner. For deeper context on how the health bar interacts with public lobbies, the boss battles overview walks through the original public-server tuning.
Why Scaling Matters for Solo Walkthroughs
On a Jump Showdown private server boss fight at 1.0x HP, you can comfortably reach Phase 2 without using your awakening, which means the first two phases become pure movement drills. Bump to 3.0x for your second pass and the encounter starts to resemble a real raid because the enrage timer now demands the awakening you saved during Phase 1. This is the cleanest way to build muscle memory without burning a public-server slot.
Jump Showdown Boss Attack Hitboxes and Dodge Windows
Chara's move set is built around three core attacks in Phase 1, expanding to five in Phase 2, and a screen-covering combo in Phase 3. The hitbox data below comes from community frame-counting and matches the patterns shown in the Chara Boss battle video on YouTube walkthrough video.
Phase 1 Move List
| Attack | Hitbox Footprint | Windup Frames | Recovery Frames | Safe Counter Window |
|---|---|---|---|---|
| Knife Lunge | 4 studs forward, 2 studs wide | 12 | 24 | 18 frames (early window) |
| Horizontal Slash | 6 studs wide cone | 8 | 20 | 14 frames |
| Ground Stab | 2 studs radius, 5 studs deep | 16 | 28 | 20 frames |
The Knife Lunge is the highest-reward punish in Phase 1 because the recovery is the longest, and most players report that baiting the lunge twice in a row is the fastest way to push the boss into Phase 2 on solo HP pools.
Phase 2 Additions
| Attack | Hitbox Footprint | Windup Frames | Recovery Frames | Safe Counter Window |
|---|---|---|---|---|
| Circular Blood Knives | 8-stud ring, 0.5 studs thick | 10 | 0 (continuous) | Air-dash through the gap between rings |
| Vertical Slam | 3 studs wide, 10 studs tall | 14 | 22 | 16 frames after impact |
| Knife Volley | 5 projectiles, 30-stud range | 6 | 0 (continuous) | Side-step the second volley |
The Circular Blood Knives are the most misunderstood attack because the hitbox is only 0.5 studs thick but spans an 8-stud ring, so the dodge is not about jumping over the wave but about air-dashing through the literal gap between knife arcs. Most failed solo runs trace back to players trying to jump straight up instead of finding the gap.
Phase 3 Enrage Combo
Phase 3 swaps the choreography entirely. Screen-Covering Slashes fire in three waves, each wider than the last, and the only consistent dodge reported by community testing is taking high ground before the enrage triggers. If you want a full move-by-move breakdown of how your character's projectile kit interacts with these slashes, the projectile moves reference pairs cleanly with this section.
Jump Showdown Counter Boss Moves and Solo Ultimate Walkthrough
Counter boss moves in Jump Showdown are timing-dependent, not combo-dependent, which means even low-damage characters can solo the encounter if they respect the recovery windows. The walkthrough below assumes a solo private server at 3.0x HP, which is the most common community training preset.
Recommended Solo Characters
| Character | Mobility Profile | Burst Profile | Solo Clear Viability |
|---|---|---|---|
| Unhinged Esper | High teleport, short cooldown | Medium single-target | High (safest dodge chains) |
| Unsealed Sorcerer | Medium dash | High sustained ranged | High (best HP burn) |
| Brute Vanguard | Low dash | Very high melee burst | Medium (risky on Phase 3) |
| Wandering Monk | High double-jump | Low per-hit | Low (better in co-op) |
Community testing on the Jump Showdown Discord shows Unhinged Esper and Unsealed Sorcerer posting the highest solo clear rates because their mobility matches the dodge windows in the move list above. Brute Vanguard clears faster when played perfectly but wipes more often in Phase 3 because the dash recovery does not align with the screen-covering slashes.
Phase-by-Phase Solo Route
-
Phase 1 (120,000 to 72,000 HP): bait two Knife Lunges, punish during recovery, save your awakening for Phase 2. The Horizontal Slash is baitable by strafing perpendicular to the boss, and the Ground Stab is your safest ultimate meter builder because of the 20-frame counter window.
-
Phase 2 (72,000 to 36,000 HP): activate awakening immediately on phase entry. Use the air-dash gap dodge on Circular Blood Knives, side-step the Knife Volley, and punish the Vertical Slam during its 16-frame recovery.
-
Phase 3 (36,000 to 0 HP): take high ground before the enrage trigger lands. The Screen-Covering Slashes cannot reach the rooftop balcony if you reposition within the first three seconds of enrage, which is your cleanest burn window. Pop your second awakening if you saved one, otherwise kite with projectile chip until the bar empties.
A full solo clear on 3.0x HP runs roughly four to five minutes once you have the rotations down. Public servers are tuned closer to 5.0x to 8.0x with the full eight-player scaling curve, so treat your private clears at 3.0x as the minimum bar before you move to a public raid. If you are still tuning your awakening timings, the evasion guide covers meter generation windows in more detail.
Boss Rewards, Respawn Timers, and Loot Priority
Defeating a Jump Showdown boss awards rare lobby flex titles, exclusive weapon visual skins, and a substantial XP boost, but the drop table is influenced by the boss HP scaling you ran. Higher HP multipliers during the encounter tend to correlate with a higher chance of the cosmetic skin drops, while standard 1.0x runs favor the XP boost and title rewards.
Reward Table by Boss
| Boss | Guaranteed Reward | Possible Reward | Rare Drop |
|---|---|---|---|
| Chara (Cursed Child) | 5,000 XP, "Cursed Witness" title | Knife skin (5% per phase clear) | Cursed Halo (0.5% on solo) |
| Cursed Child | 7,500 XP, "Cursed Walker" title | Cursed Robe cosmetic (8%) | Voidwalker Aura (1%) |
| Hidden Rooftop Boss | 10,000 XP, "Sky Hunter" title | Skyborn Cape (12%) | Stormcaller Badge (2%) |
Respawn timers in private servers are configurable, which is one more reason to host your own practice lobbies during the Jump Showdown boss encounter guide training phase. Most community-tested presets use a 15-minute respawn for solo drills and a 60-minute respawn for full raid prep. Public lobby timers are fixed and tend to run 90 to 120 minutes, so coordinate your team before queuing.
Frequently Asked Questions
What is the best way to practice a Jump Showdown private server boss fight solo?
Host a private server with the World Event Spawn Rate set to 100% and Boss HP Multiplier at 3.0x, then run the Chara encounter on Unhinged Esper or Unsealed Sorcerer. This preset matches the real raid pacing while keeping one-shots rare enough to learn the counter windows.
How does Jump Showdown boss health scaling change between solo and raid lobbies?
Base HP scales roughly linearly with player count, but the enrage trigger shrinks faster than the total pool, so eight-player raids feel chaotic. Solo runs hit Phase 3 at 30% HP remaining, while eight-player runs enter enrage at around 15%, which compresses the safe dodge window.
Which attacks have the largest Jump Showdown boss attack hitboxes in Phase 3?
The Screen-Covering Slashes are the largest by far, with each wave covering roughly 80% of the standard arena. The only consistent counter is taking high ground on the rooftop balcony before the enrage triggers, because the slashes cannot reach elevated terrain in the default arena geometry.
Can I counter boss moves without using my awakening?
Yes, every Phase 1 and most Phase 2 attacks have safe counter windows longer than 14 frames, which is enough for any character's basic combo. Save your awakening for Phase 2 entry or the Phase 3 enrage trigger, because those are the two moments where raw reaction time is not enough on solo HP pools.
Is the Jump Showdown ultimate boss walkthrough different on mobile?
The dodge windows are the same, but the air-dash gap dodge on Circular Blood Knives is harder on touch controls because the directional input lands a frame later. Community testing suggests using the Unsealed Sorcerer on mobile because the ranged burst lets you skip the most frame-tight dodges entirely.