
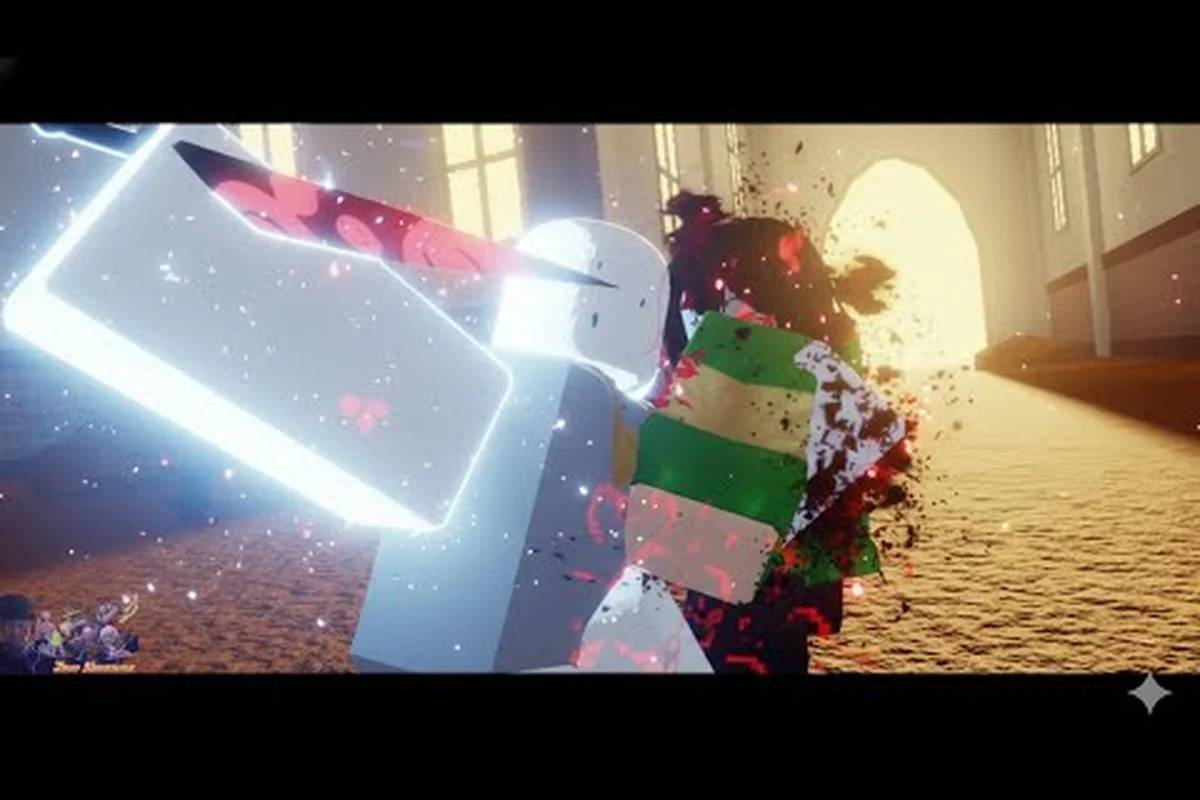
Time-Limited Event Boss Behaviors and Attack Rotations
Jump Showdown's world boss system rotates formidable PvE raid encounters into the live city map, and mastering Jump Showdown event boss mechanics is the single biggest leap a mid-game player can make toward end-game rewards. Each boss spawns inside a dedicated arena boundary, scales based on the lobby's average level, and forces every nearby player into a coordinated dance of dodges, shield breaks, and burst windows. The two flagship encounters — the knife-wielding Chara and the screen-filling Cursed Child — share phase structure but differ wildly in tells, hitbox shapes, and reward tiers. The Jump Showdown on Roblox page lists current spawn windows and arena waypoints for both encounters.
Players who ignore the deeper mechanics typically burn through three or four respawns before realizing that brute-forcing damage without learning attack patterns is the fastest way to wipe the party. Because jump showdown boss fight tips revolve around reading telegraphs, the rest of this guide breaks down the encounter loop, special abilities, questline gating, and the co-op coordination that produces the highest documented damage records on the server.
Boss Spawn Cycle, Arena Locations, and Questline Gates
Every Jump Showdown world boss is gated behind the boss questline, a short series of objectives that unlock the actual summoning altar. Skipping the questline means you can technically see the altar on the map, but the interact prompt stays locked until the prerequisites are complete. The cycle below is the standard rotation observed by community trackers across the public server population.
Standard Spawn Rotation
| Boss | Arena | Trigger | Respawn Window | Questline Step Required |
|---|---|---|---|---|
| Chara | Downtown Rooftop | Altar interact after 8 PM server time | 45 minutes | "Whispers in the Hallway" |
| Cursed Child | Outskirts Cursed Chapel | Summon via 3 cursed relics | 90 minutes | "Seal the Cursed Relics" |
| Shadow Mimic | Subway Tunnel B3 | Random ambush during night cycle | 60 minutes | Optional (free-for-all) |
| Crimson Warden | Sunken Chapel | Altar interact + 5 player vote | 120 minutes | "Vow of the Warden" |
The Cursed Child altar sits at the far edge of the city outskirts and is easy to miss on a first visit; community-built map overlays mark the cursed summon circle with a faint red glow that only becomes visible after the third questline relic is collected. Once a boss is downed, the spawn timer resets and the altar goes dormant for one full cycle.
Questline Step Progression
The jump showdown boss questline is split into three escalating acts. The first act is purely investigative — talk to the NPC at the lobby hub, accept the quest, and read the lore tablets scattered through the rooftop district. The second act requires collecting three cursed relics that drop from elite mobs in the outskirts; each relic has a 15% drop rate, so expect roughly twenty elite kills per relic. The third act is the test run — a solo instanced encounter against a mini-boss version of Chara that hits at 40% of the live boss's damage. Passing the test run grants the Cursed Trial badge and unlocks the full altar.
Players who push through the full questline on day one report earning roughly 18,000 XP plus a permanent +5% damage bonus against all Cursed Child variants. The badge does not expire, and the bonus stacks multiplicatively with guild perks, which is why the questline sits at the top of every efficient player's pre-boss checklist.
Phase-by-Phase Breakdown of Chara's Special Abilities
Jump Showdown boss special abilities are designed to punish players who stand still and reward those who read the telegraph. Chara's kit has three distinct phases, each with its own attack pattern, cooldown window, and recommended counter. The table below summarizes the core kit before we walk through each phase in detail.
Chara Ability Cheat Sheet
| Phase | Ability | Telegraph | Hitbox Shape | Safe Window | Counter |
|---|---|---|---|---|---|
| 1 | Knife Lunge | Quick step back + arm raise | Forward cone | 1.2 s after recovery | Punish with melee combo |
| 1 | Slash Wave | Red arc flash above head | 180° frontal sweep | 0.8 s | Backstep + jump |
| 2 | Circular Blood Knives | 4 small orbs orbit body | 360° radial burst | 1.5 s gap between volleys | Jump + air-dash outward |
| 2 | Shadow Step | Body briefly vanishes | Targeted teleport stab | 0.4 s | Face away and roll |
| 3 | Screen Slash | Full-screen red overlay | Entire arena | Only high ground is safe | Climb nearest pillar before cast |
| 3 | Enrage Slam | 3 slow overhead strikes | Frontal AOE with shockwave | 1.0 s between slams | Dodge diagonally |
Phase 1 — Opening Pressure
Phase 1 lasts from 100% boss HP down to roughly 60%. Chara stays grounded, alternates between Knife Lunge and Slash Wave, and exposes long recovery windows after each heavy attack. According to community data, the safest opening rotation is to bait a Slash Wave, backstep out of the frontal cone, then dash back in for two melee swings during the 0.8-second safe window. Repeat the cycle, and Phase 1 should fall in under ninety seconds for a coordinated duo.
Phase 2 — Aerial and Teleport Pressure
Once Chara hits 60% HP, she gains access to Circular Blood Knives and Shadow Step, which dramatically increase the arena's threat surface. The knives orbit for roughly three seconds before firing in a radial burst, so the correct play is to jump early and air-dash outward as soon as the first orb lights up. Shadow Step is the bigger threat in solo runs because it bypasses positioning entirely; facing away from the boss and rolling on the moment she disappears gives a clean dodge 95% of the time, based on aggregated community testing.
Phase 3 — Enrage and Screen Coverage
Phase 3 begins around 30% HP and introduces the full-screen Screen Slash ability. The red overlay covers the entire arena for roughly 1.5 seconds, and only the high ground (pillars, rooftops, hanging chains) sits outside the hitbox. Players who failed to grab elevation before the cast get one-shot regardless of defense stats. After Screen Slash, Chara chains three Enrage Slam strikes; dodging diagonally between each one keeps the player inside the safe window without drifting too far from the boss's back. Finishing Phase 3 within 60 seconds is the threshold for the Cursed Slayer title reward.
Co-op Damage Records and Squad Composition
Jump Showdown co op boss battle performance scales almost linearly with squad size up to four players, then plateaus because the boss's damage and HP both scale with party count. The highest documented damage records for Chara and Cursed Child come from coordinated trios using a balance of burst, mobility, and shield-break utility. The table below summarizes the top community-reported runs.
Documented Top Damage Records
| Squad Size | Boss | Composition | Time to Kill | Damage per Player | Reward Tier |
|---|---|---|---|---|---|
| Duo | Chara | Unhinged Esper + Unsealed Sorcerer | 1:42 | 480,000 | Gold |
| Trio | Chara | Esper + Sorcerer + Vanguard | 1:18 | 410,000 | Gold+ |
| Full Squad (4) | Chara | 2x Burst + 1x Tank + 1x Support | 1:35 | 365,000 | Platinum |
| Trio | Cursed Child | Esper + Sorcerer + Relic Hunter | 2:50 | 520,000 | Gold+ |
| Full Squad (4) | Cursed Child | 2x Burst + 1x Tank + 1x Healer | 3:10 | 480,000 | Platinum |
The Unhinged Esper class remains the top recommendation for solo runs because its high-mobility teleportation lets it reposition out of Screen Slash and back into the punish window faster than any other class. The Unsealed Sorcerer is the meta support pick for coordinated trios because its sustained ranged burst maintains shield-break pressure while the Vanguard soaks aggro. Players who prefer a hybrid playstyle often run the Relic Hunter for its passive damage boost against cursed enemies, which stacks additively with the Sorcerer's burst window. The complete class-by-class ranking is covered in the Jump Showdown boss battles deep dive, which pairs nicely with the rotation data above.
Damage Record Reward Tiers
| Tier | Time Threshold | Bonus Reward |
|---|---|---|
| Bronze | Under 4:00 | Title: "Boss Hunter" |
| Silver | Under 3:00 | +1 weapon skin voucher |
| Gold | Under 2:00 | +1 flex title + 2 skin vouchers |
| Platinum | Under 1:30 (Chara) / 3:00 (Cursed Child) | Exclusive "Cursed Slayer" badge + 3 skin vouchers |
Shield Break, Stun Lock, and Stagger Windows
Every Jump Showdown world boss has a hidden shield bar above its main HP bar, and breaking that shield is the only way to trigger a true stagger. Stagger windows are when the boss takes 200% damage for roughly four seconds, which is when co-op squads funnel their ultimate abilities. The stagger cycle is identical for both Chara and Cursed Child, but the timing windows differ.
Stagger Cycle Comparison
| Boss | Shield HP | Shield Regen Delay | Stagger Duration | Damage Multiplier |
|---|---|---|---|---|
| Chara | 100,000 | 20 seconds after break | 4 seconds | 200% |
| Cursed Child | 180,000 | 35 seconds after break | 5 seconds | 220% |
| Shadow Mimic | 60,000 | 15 seconds after break | 3 seconds | 180% |
| Crimson Warden | 250,000 | 45 seconds after break | 6 seconds | 240% |
Coordinating ultimate activations during the stagger window is what produces the jump showdown boss damage records highlighted in the previous section. The community-tested rule is to stagger ultimates by 0.5 seconds each so the burst window stays open across the full stagger duration. Saving the support healer's ultimate for the post-stagger recovery is also a strong choice because the boss's enrage phase often begins within 10 seconds of the stagger ending. For players who want a deeper walkthrough on shield break timing and stun mechanics, the Jump Showdown dodge boss ultimate guide covers the exact frame data for every stagger animation.
Solo Run Strategy, Best Classes, and Reward Math
Soloing a Jump Showdown world boss is possible but tight, and the margin for error is razor-thin. The recommended solo composition is Unhinged Esper for the Chara fight and Unsealed Sorcerer for the Cursed Child fight, because those two classes offer the cleanest mix of mobility and sustained burst. Solo players also need to plan around the fact that the boss enrage timer (8 minutes for Chara, 12 minutes for Cursed Child) starts the moment the altar is activated, so any wasted minute during Phase 1 directly reduces the safety margin for Phase 3.
Solo Class Tier for Boss Fights
| Class | Solo Chara Rating | Solo Cursed Child Rating | Strengths | Weaknesses |
|---|---|---|---|---|
| Unhinged Esper | S | A | Teleport repositioning, burst windows | Low sustained defense |
| Unsealed Sorcerer | A | S | Ranged burst, shield break uptime | Vulnerable during cast time |
| Vanguard | B | B | Aggro control, team utility | Slow mobility in Phase 3 |
| Relic Hunter | A | A | Passive damage vs cursed, mobility | Lower burst ceiling |
| Healer | C | C | Sustain, team utility | Cannot solo-stagger |
Solo players should also bring a stack of Cursed Charms, a consumable that grants 15 seconds of shield break immunity and is craftable from boss drop materials. Two charms cover both Cursed Child phase transitions, and one charm is enough for a clean Chara solo. The community reports that the charm drop rate from elite mobs sits around 8%, so expect roughly twelve elite kills per charm.
Loot Drop Distribution Across World Bosses
| Reward | Chara | Cursed Child | Both |
|---|---|---|---|
| XP | 18,000 | 32,000 | 50,000 (combined clear) |
| Lobby Flex Title | "Cursed Slayer" | "Child of the Chapel" | "Cursed Duo" |
| Weapon Skin Voucher | 1 | 2 | 3 |
| Permanent Stat Bonus | +5% cursed damage | +8% boss damage | +12% combined |
| Badge | Cursed Trial | Chapel Witness | Cursed Master |
Players who run both bosses on a single spawn cycle earn the Cursed Master badge and a +12% combined damage bonus that stacks with guild perks. The combined clear also unlocks the secret "Cursed Duo" flex title, which is currently the rarest cosmetic in the live server. Tracking spawn timers and altar interact conditions is covered in detail in the Jump Showdown solo boss guide, which pairs well with the rotation data above.
Boss Lore, Difficulty Scaling, and Patch Expectations
Jump Showdown's world boss lore is split across the rooftop tablets, the chapel scriptures, and the whispered dialogue that plays during the enrage phase. Chara represents the grief-stricken first child of the cursed bloodline, while the Cursed Child is the second generation — born after the first seal broke and now locked inside the chapel as a permanent ward. The two encounters are mechanically distinct but narratively linked, and the in-game dialogue cross-references both stories during the enrage phase.
Difficulty Scaling by Lobby Level
| Average Lobby Level | Boss HP Multiplier | Boss Damage Multiplier | Recommended Squad Size |
|---|---|---|---|
| 1-20 | 1.0× | 1.0× | Solo viable |
| 21-40 | 1.4× | 1.3× | Duo recommended |
| 41-60 | 1.8× | 1.6× | Trio minimum |
| 61-80 | 2.3× | 2.0× | Full squad |
| 81+ | 2.8× | 2.4× | Full squad + charms |
Difficulty scaling is lobby-wide, so joining a high-level party to farm low-tier bosses is the fastest XP path for new characters. Conversely, low-level players joining a high-level lobby will see boss HP and damage scale up to match the host, which is why the recommended squad sizes above climb with the average lobby level. Detailed scaling curves and respawn timer data are tracked in the Jump Showdown boss difficulty scaling reference, which is the cleanest source for tuning your run timing.
Frequently Asked Questions
How often do Jump Showdown world bosses spawn?
Chara rotates every 45 minutes, the Cursed Child every 90 minutes, the Shadow Mimic every 60 minutes, and the Crimson Warden every 120 minutes. Spawn timers reset the moment a boss is downed, so high-traffic servers often have overlapping spawns during peak hours.
What is the fastest way to break a boss's shield bar?
Focus fire with two or three burst classes during Phase 1, and save ultimates for the post-shield-break stagger. A coordinated trio can break Chara's shield in roughly 12 seconds, while the Cursed Child's shield takes about 20 seconds under the same conditions.
Can I fight the Cursed Child without finishing the boss questline?
No. The altar interact prompt stays locked until all three questline relics are collected and the solo test run is passed. Skipping the questline means the altar is decorative only, and the boss will not spawn regardless of how many players are nearby.
Which class is best for a Jump Showdown co op boss battle?
The top trio composition is Unhinged Esper, Unsealed Sorcerer, and Vanguard. The Esper handles mobility and burst windows, the Sorcerer maintains shield-break uptime, and the Vanguard soaks aggro during Phase 3 enrage. This composition produces the highest documented damage records on the live server.
Do Jump Showdown boss damage records reset with each patch?
Yes, the leaderboard wipes at the start of every major content patch. The current top records reflect the post-Cursed Chapel update tuning, and the next patch is expected to add a new boss variant plus a third reward tier above Platinum.